Welcome to your ASUS FlashRouter. This guide explains how to connect your router for the first time, whether you want it to be your main home router or a separate router connected behind your existing modem/router. First get a normal internet connection working; VPN setup comes afterward.
Step 1: Decide How Your ASUS FlashRouter Will Connect
You can use an ASUS FlashRouter as the main router for your entire home or as a separate VPN-capable router behind an existing home router. Both approaches work with local AsusWRT router management and, on supported models, VPN Fusion.
Option A: ASUS as your main router
Internet modem/ONT → ASUS WAN port → your home devices
Choose this if the ASUS is replacing your previous home router and will provide the primary WiFi, network addressing and VPN functionality.
Option B: ASUS behind your existing router
ISP modem / existing router LAN port → ASUS WAN port → devices using ASUS WiFi or LAN
Choose this if you must retain the ISP gateway or want to keep a separate set of devices on your FlashRouter.
How to Identify the WAN / Internet Port on Your ASUS Router
ASUS router ports do not all look alike. The internet input may be labeled WAN, Internet, or marked with a globe icon. Port colors, positions and speeds vary by ASUS model, so do not rely on a blue port or a particular position.
- Check the labels printed beside or above the Ethernet sockets on the back of your ASUS router. Use the port labeled WAN or Internet for the cable bringing internet into the FlashRouter.
- On models with several multi-gigabit or combined WAN/LAN ports, use the port currently assigned to WAN in the router settings. A 2.5G or 10G socket is not automatically the correct internet input merely because it is faster.
- If you cannot identify the port, check the exact ASUS model number printed on the router label, then compare its port diagram in the official ASUS support documentation. Do not guess or change the router’s WAN port assignment during first-time setup.
- For a router connected behind another router, the cable goes from the existing router’s LAN port to the ASUS FlashRouter’s WAN port.
If the router does not report an internet connection after cabling, double-check the port label and the ASUS WAN connection settings. This step identifies the physical internet connection; it is not where you choose a VPN server.
Option A: Set Up ASUS as Your Main Home Router
Use this path when your ASUS FlashRouter will replace the router that currently serves your house.
- Identify the device supplied by your internet provider. It might be a modem, a fiber ONT, or a combined modem/router gateway. Do not unplug any fiber cable or change ISP settings unless needed.
- Connect an Ethernet cable from the modem/ONT’s Ethernet output to the ASUS WAN / Internet port. See How to Identify the WAN / Internet Port above if the ports are unclear. On models with configurable WAN ports, use the port designated for WAN in its current settings.
- Power on the modem/ONT and let it establish its ISP connection. Then power on your ASUS FlashRouter and allow it to boot fully.
- Connect a phone or computer to the ASUS WiFi or one of its LAN ports. Follow the sign-in instructions below.
- Confirm the ASUS has a working WAN internet connection and test a website from a device connected to the ASUS. Do this before configuring or enabling a VPN.
If your ISP provided a combined modem/router gateway
Some ISP gateways can be switched to bridge mode or IP passthrough so the ASUS handles the home network as the primary router. Whether this is available or appropriate depends on the ISP and your service. Do not disable your ISP gateway’s routing functions without confirming the provider’s instructions, particularly if it also supplies TV or phone service.
If bridge/passthrough isn’t available, the ASUS may still operate behind the ISP gateway in router mode, using Option B. That can create double NAT, which may matter for gaming, inbound port forwarding and some remote-access applications, but does not automatically prevent outbound VPN connections.
If the ASUS does not get internet from the modem/ONT
Some connections need ISP-specific WAN settings such as Automatic IP (DHCP), PPPoE credentials, Static IP, or a VLAN ID. Do not guess these values. Check the ISP’s instructions and, if necessary, WAN > Internet Connection or the corresponding page on your ASUS model. After changing which router is attached, a modem/ISP may also require a proper power restart or reauthorization.
Option B: Keep Your Existing Router and Connect the ASUS Behind It
- Leave the working modem/router and its internet connection in place.
- Run an Ethernet cable from an available LAN port of the existing router to the ASUS FlashRouter’s designated WAN / Internet port. See how to identify the WAN port if you’re unsure.
- Power on the ASUS and connect your phone or computer to its WiFi or LAN port.
- Open a website while connected to the ASUS. If your existing router normally assigns addresses automatically, the ASUS WAN connection will usually use Automatic IP (DHCP).
- Continue to the WiFi, administrator and VPN steps below. Devices on your existing router’s WiFi will not automatically use the VPN configured on the separate ASUS router.
Step 2: Connect to FlashRouter WiFi and Open AsusWRT
- On your phone, computer, TV or other device, look for the WiFi network shown on your FlashRouters setup information. Examples include FlashRouter24 (2.4 GHz) and FlashRouter50 (5 GHz). Your actual names may differ.
- Enter the WiFi password provided with your router. This is not the same as its administrator password.
- Alternatively, connect a computer directly to an ASUS LAN port using an Ethernet cable.
- Open a browser and visit
http://www.asusrouter.comor your ASUS LAN gateway, commonlyhttp://192.168.50.1. Sign in with the router administrator credentials provided with your FlashRouter.
For complete connection and administrator login help, follow How to Access Your AsusWRT FlashRouter Settings.
Step 3: Confirm Internet Access Before Starting a VPN
- While connected to the ASUS, open a regular webpage from a phone or computer.
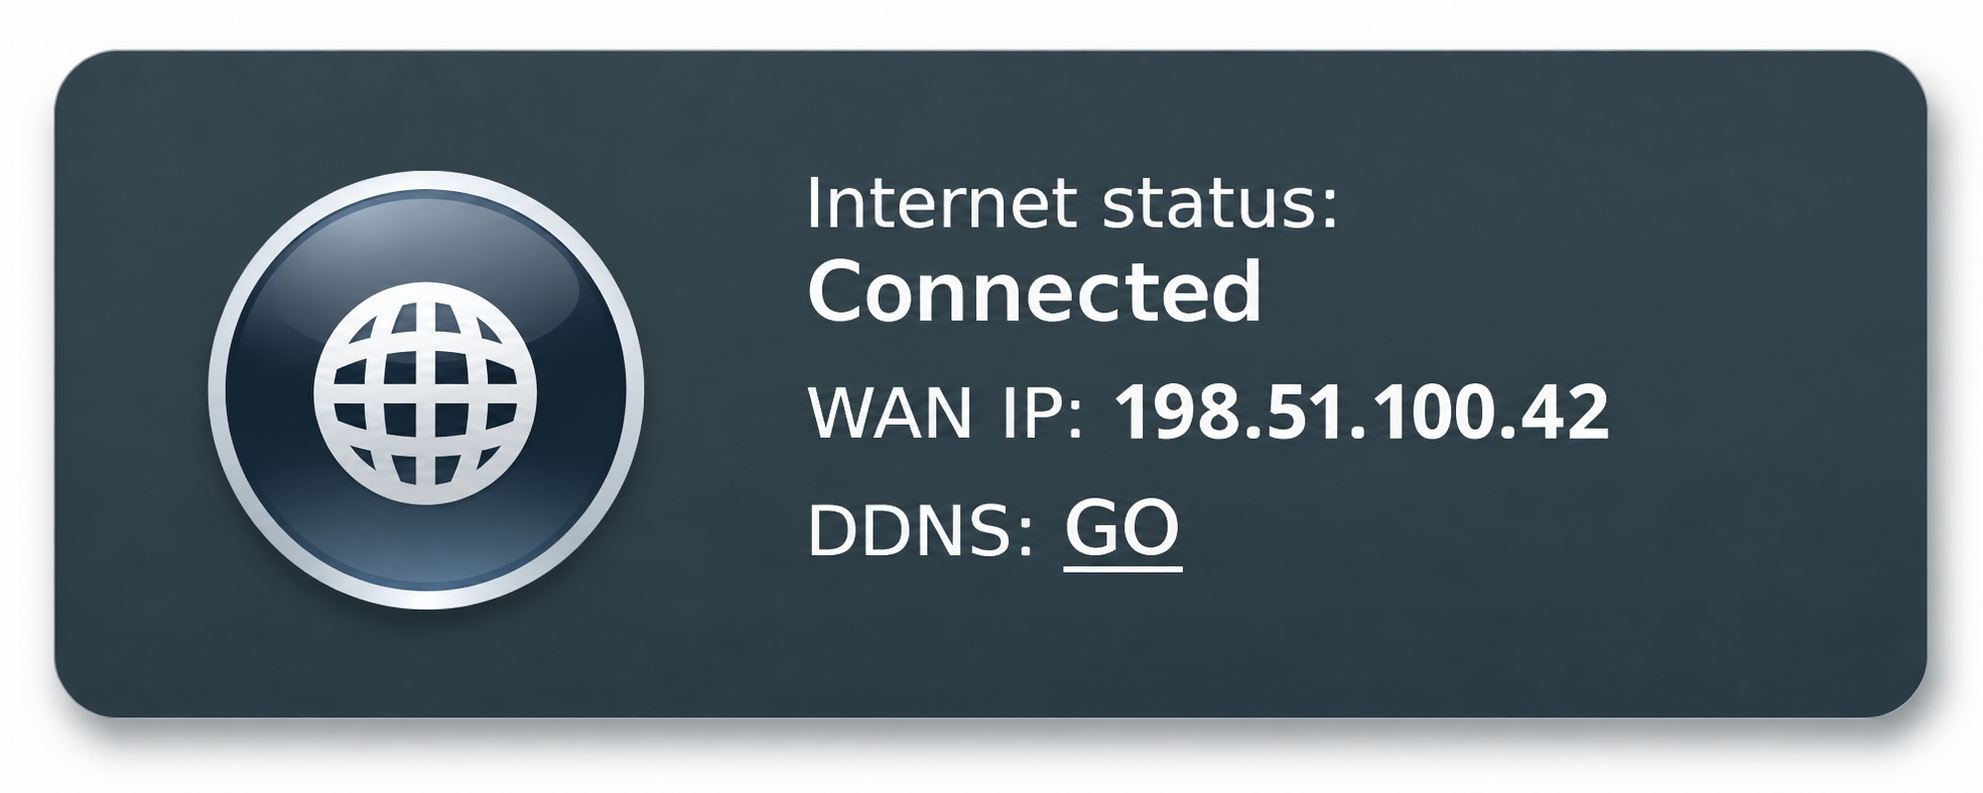
- In the ASUS dashboard, check that the WAN/Internet connection is active. Status labels vary by firmware.
- If a VPN profile was previously configured, temporarily disconnect it for this initial test when feasible; confirm the basic ISP connection works first.
- Only continue to VPN configuration after websites load normally through the ASUS without the VPN.
Step 4: Review WiFi and Administrator Security
You may keep the WiFi settings provided with your router or customize them. Many customers find separate names for 2.4 GHz and 5 GHz useful for choosing which network their streaming or smart-home devices join. Shared-band networks are also supported on compatible firmware.
- Check the ASUS WiFi names and passwords; update them if desired.
- Change your router’s administrator password from the shipped default when appropriate, and store it safely. The administrator password is separate from the WiFi password.
- When changing a WiFi name/password, reconnect each device using the new details. A wired computer is useful if your WiFi connection is interrupted during setup.
For step-by-step instructions including newer ASUS Network menus and classic Wireless menus, see ASUS WiFi Settings: Change Name, Password, Channels & Radio.
Step 5: Set Up the VPN on Your ASUS FlashRouter
VPN is a separate setup step. Once the ASUS has working internet, configure an available VPN client or VPN Fusion profile according to your provider and firmware. The ASUS router does not require a Privacy Hero subscription for local AsusWRT VPN configuration.
- NordVPN Setup for AsusWRT Routers
- IPVanish Setup for AsusWRT: WireGuard & OpenVPN
- How to Use ASUS VPN Fusion: Assign Devices and Multiple VPNs
- ASUS Guest WiFi With or Without VPN: Setup Guide
- Browse All AsusWRT VPN Setup Guides
After enabling the VPN, test the public IP using IPLeak.net from a device connected to the ASUS and assigned to the VPN profile. Devices still connected to your ISP router may show your normal ISP public IP.
If your order includes ASUS AiMesh hardware
Complete the internet and sign-in steps on the main ASUS router first. AiMesh nodes are checked or added afterward; they extend your WiFi network and do not require separate VPN Fusion profiles. Follow ASUS AiMesh Setup for FlashRouters: Main Router, Nodes & Backhaul for nodes, pairing, and wireless or Ethernet backhaul.
First-Time Setup Troubleshooting
ASUS WiFi appears, but there is no internet
- Confirm that the internet cable is plugged into the WAN / Internet port assigned on your ASUS model, not an ordinary LAN port. Check the port label or exact model documentation rather than relying on the port color.
- Confirm whether the modem/ONT must be restarted after changing routers.
- Inspect the ASUS WAN IP address and connection status; verify DHCP versus PPPoE or other ISP-required values.
- Temporarily disable any VPN connection during the test and compare internet access on the ASUS versus directly on the ISP equipment.
The ASUS login page does not appear
Make sure the device is attached to the ASUS and not another WiFi network. Try http://www.asusrouter.com or the actual default gateway assigned by the ASUS; its LAN IP may be different from 192.168.50.1. For full login guidance, see the AsusWRT router access guide.
If the incoming internet cable was accidentally connected to an ordinary ASUS LAN socket, two routers may be connected LAN-to-LAN. Power off the ASUS and check whether your model has a different port assigned to WAN / Internet; move the cable only to a verified WAN port before powering the ASUS back on. Then connect the test device directly to ASUS WiFi or an ASUS LAN port. Remember, a WAN connection is not required merely to open the local administration page.
Internet works, but VPN does not
That means the physical connection and WAN setup are working. Check the separate VPN configuration, credentials/server settings and VPN Fusion device assignment instead of resetting the router. See VPN Fusion device routing.
My old router and ASUS both create WiFi networks
This is normal with Option B. Keep both if desired, or adjust the ISP router’s WiFi only when you’re sure which network should remain active. Devices must connect to the network intended for them.
Upgrade your ASUS network
Explore ASUS WiFi 7 FlashRouters
Browse ASUS routers and compare models for your home network. ASUS WiFi, AiMesh, and VPN features depend on the specific model and firmware.