

Prioritizing Privacy
Dave · ·


Feel free to submit a ticket or click on the live chat button for additional assistance. We are available Monday – Friday, from 10AM – 6PM EDT and Saturday and Sunday, from 12PM – 6PM EDT
TeamFlashRouters · ·
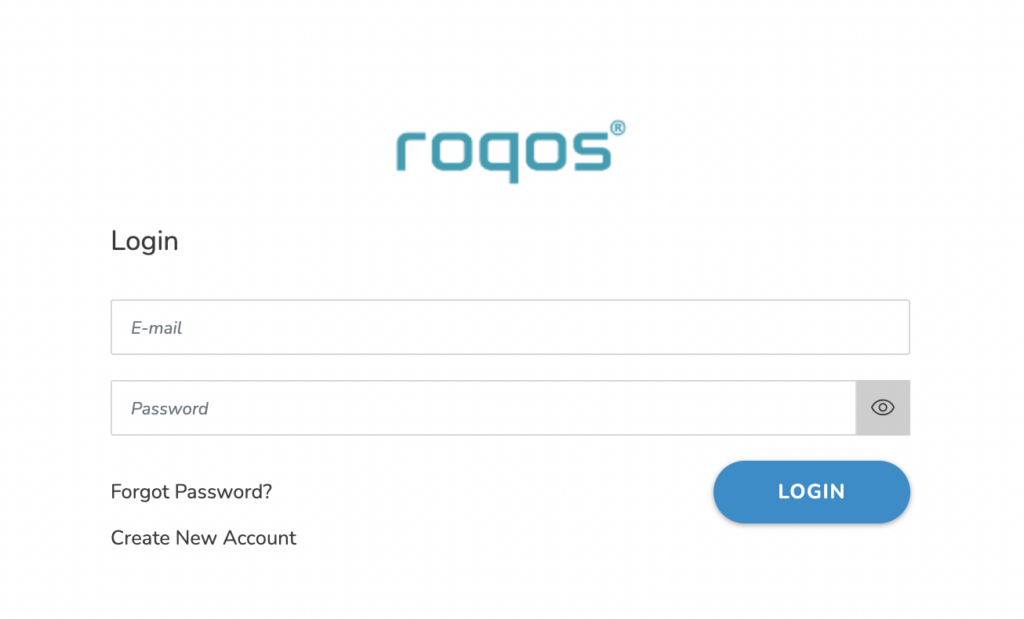
Your Roqos Core’s settings or UI (User Interface) is accessible via a secure cloud based connection rather than the typical local access of other routers. This means that you can manage your Roqos from anywhere in the world not just at home.
From any device that has a browser such as a computer, smartphone, or tablet visit login.roqos.com

Enter in the email and password that you set when your Roqos was initially setup. If you still need to create your Roqos account and activate your Roqos follow our Activate and Connect Roqos to Internet guide.
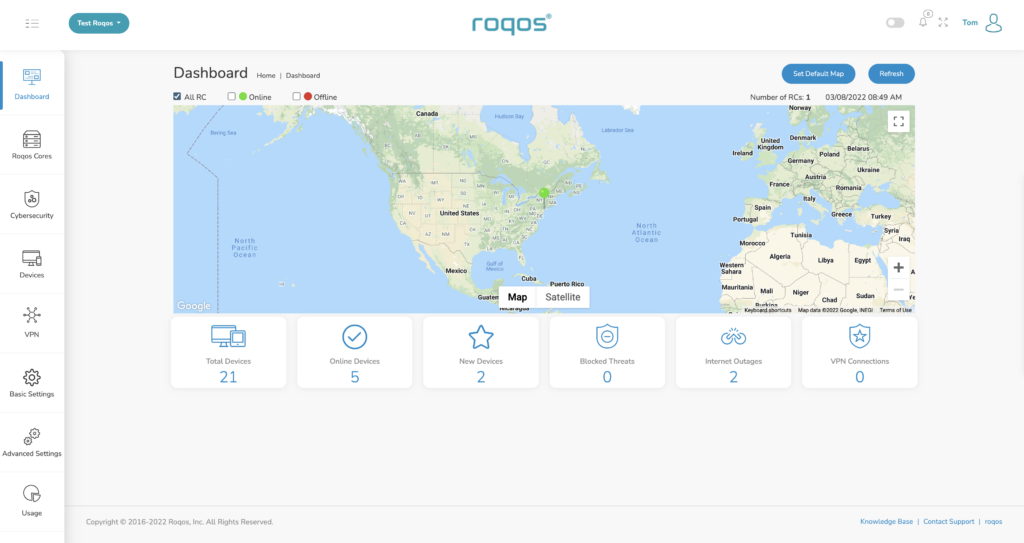
Now that you are logged in to your Roqos UI you adjust any settings as you see fit for your network. For guides on how to make specific changes to your Roqos view our Roqos Setup Guide area.
TeamFlashRouters · ·
Follow this article when you receive your new Roqos Core router to create your Roqos account, connect your Roqos to the Internet, and customize your network so it is ready to use.
1. From any device that has a browser such as a computer, smartphone, or tablet visit login.roqos.com

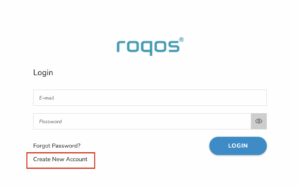
2. Select Create Account.
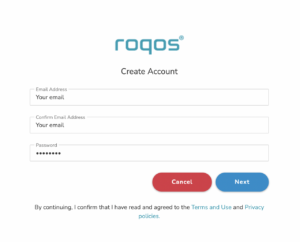
3. Enter the Email address and password you want to set for your Roqos account. This will be your login to the Roqos settings moving forward. Click Next.
4. Enter the name and phone number you want associated with your Roqos. Click Next.
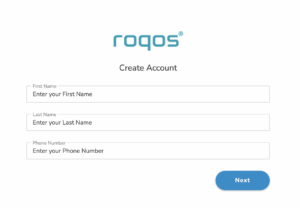
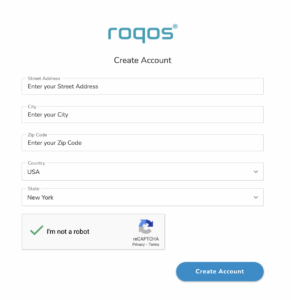
5. Enter the address where your Roqos is located. This section may require a CAPTCHA to be completed to authenticate you are human. Click Create Account.
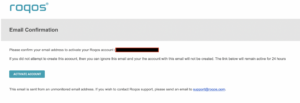
6. You have now created your Roqos account. In a new tab proceed to open the email from Roqos and click the Activate account button.
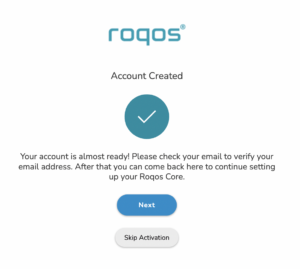
1. From the Account created page click Next to begin the Internet Setup of the Roqos.
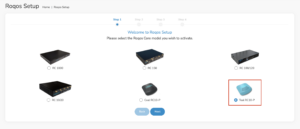
2. Select the Roqos model Teal RC10-P. Click Next.
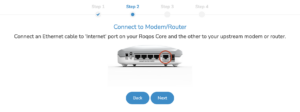
3. Connect the ethernet cable that came with your Roqos from the port labeled INTERNET on the back of your Roqos to an open ethernet port on your ISP Modem or other router in your network.
4. Then connect the power adapter that came with the Roqos to the back of the Roqos. Wait for the light on the Roqos to begin blinking blue. Once your see the blinking blue lights on the Roqos click Next.
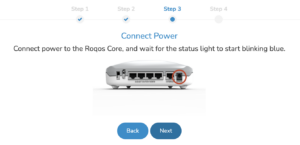
If your Roqos lights does not begin blinking blue after a long while please see the steps in this article and contact us.
5. Enter in the Roqos serial number found on the bottom of the device exactly as it appears there. Click Next.

1. Enter in a name that you would like to call the Roqos. This is just the Roqo’s device name and it is not the WiFi network name. Click Next.

2. Select the Time Zone of your actual location from the dropdown. Click Next.

3. Set the WiFi name and password for the Roqos. The WiFi name should be unique and not a duplicate of an existing wireless network. This will be the name that appears in your wireless devices available network list and the password to join the devices to the network. Click Next.

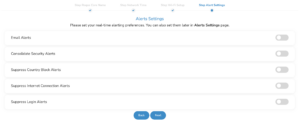
4. Select the custom alert settings as you best see fit using the toggle switches. We typically recommend having the first two toggles selected for Email Alerts and Consolidate Security Alerts. Click Next.
You are now done setting up your Roqos to connect to the Internet and can begin joining your wireless devices to the Roqos network and exploring the Roqos Core Features.

Still having issues? Visit the VPN Troubleshooting section.