• Skip to primary navigation
  • Skip to main content
  • Skip to primary sidebar
  • Skip to footer

FlashRouters Support Portal

Prioritizing Privacy

  • SETUP GUIDES
    • DD-WRT Router Setup Guide
    • AsusWRT-Merlin Router Setup Guide
    • ExpressVPN Router Setup Guide
    • GL.iNet Router Setup Guide
    • Privacy Hero Router Setup Guide
    • Roqos Core Router Setup Guide
  • TROUBLESHOOTING
    • Router Access
    • WiFi Connectivity
    • Internet Connection Issues
    • General VPN Issues
    • FR Privacy App
    • DD-WRT Firmware
    • TeamViewer Remote Support
  • FAQs
    • Router FAQs
    • VPN FAQs
    • Warranty and Returns FAQs
    • Sales FAQs
    • Shipping FAQs
    • Service Plan FAQs
  • Show Search
Hide Search

Internet Setup: Privacy Hero

Privacy Hero Activation and Setup

TeamFlashRouters · Feb 8, 2023 ·

Follow this article when you receive your new Privacy Hero router to create your Privacy Hero account, connect your Privacy Hero to the Internet, and customize your network so it is ready to use.

Your Privacy Hero router uses Cloud Based router management which means you can access the router settings from anywhere on any device that has an internet connection. You can follow these steps while connected to your phone or your other Wi-Fi network.

Create your Privacy Hero account

1. From any device that has a browser such as a computer, smartphone, or tablet visit app.privacyhero.com

App.PrivacyHero.com

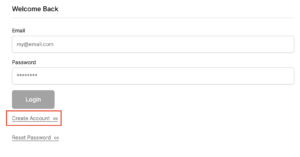
2. Select Create Account.

Privacy Hero create Account

3. Enter the Email address you want to set for your Privacy Hero account. This will be your login to the Privacy Hero settings moving forward. Click Create Account.

Privacy Hero Enter account email

4. Go to your Email inbox and check for an email from Privacy Hero and click the Confirm email address link. This email may be in your Promotions or Spam inbox if it is not appearing in your main inbox.
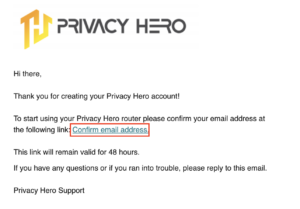
Privacy Hero Confirm Email

5. Enter the password that you want to use for your Privacy Hero account. Be sure to note this in a secure location so you do not forget. Click Submit.
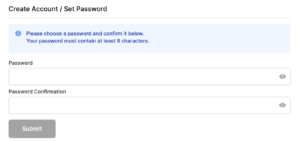
Privacy Hero create password

6. You have now created your Privacy Hero account. You will use this login to access the Privacy Hero router settings.

Activate your Privacy Hero Internet and setup Wi-Fi

1. You will then be taken to the Router Activation steps. Connect the ethernet cable that the Privacy Hero came with from an open Ethernet port on your ISP modem or other router to the WAN/Internet (blue) port of the Privacy Hero.

Then power the Privacy Hero device on by connecting the power supply. This is shown in the video on the page as well. Wait about a minute or so for the Privacy Hero router to fully boot up and then click I’m Connected.
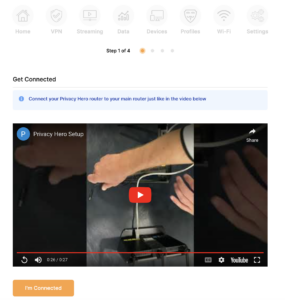
Wire Up Privacy Hero

2. The next page may say Router Found or ask you to enter the Activation Code. If it asks for the Activation Code that will be the code printed on the bottom of the Privacy Hero. Enter this code and click Next.
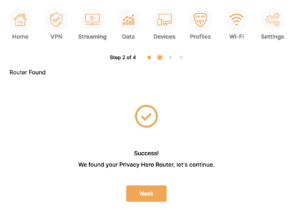
Privacy Hero Router Found

3. Set the Wi-Fi name and password for connecting your devices to the Privacy Hero network. Make sure it is not a duplicate name of an existing Wi-Fi network. Click Next.
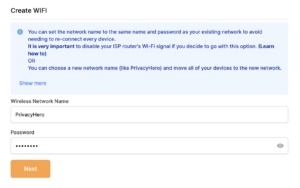
Privacy Hero Set wifi name and password

4. To activate your 1 Year NordVPN code:

Click on Claim NordVPN 1 Year Code Now
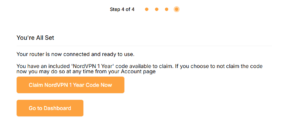
NordVPN Claim Code

Go to the Account section of your router settings.

Copy the NordVPN code shown under Claim NordVPN 1 Year Code.

PH Nord Code

Go to the NordVPN activation page.

This code can be used with a new or existing NordVPN account.

NordVPN Activate Page

5. You are now all set to begin joining your devices to the new Privacy Hero network with the Wi-Fi name and password you entered and setting up some of the Privacy Hero features.
TROUBLESHOOTING

Still having issues? Visit the VPN Troubleshooting section.

Troubleshoot Here

Privacy Hero Access Router Settings

TeamFlashRouters · Feb 8, 2023 ·

Your Privacy Hero router uses Cloud Based router management which means you can access the router settings from anywhere on any device that has an internet connection. You can follow these steps while connected to your phone, other Wi-Fi network, or the Privacy Hero network.

1. From any device that has a browser such as a computer, smartphone, or tablet visit app.privacyhero.com

App.PrivacyHero.com

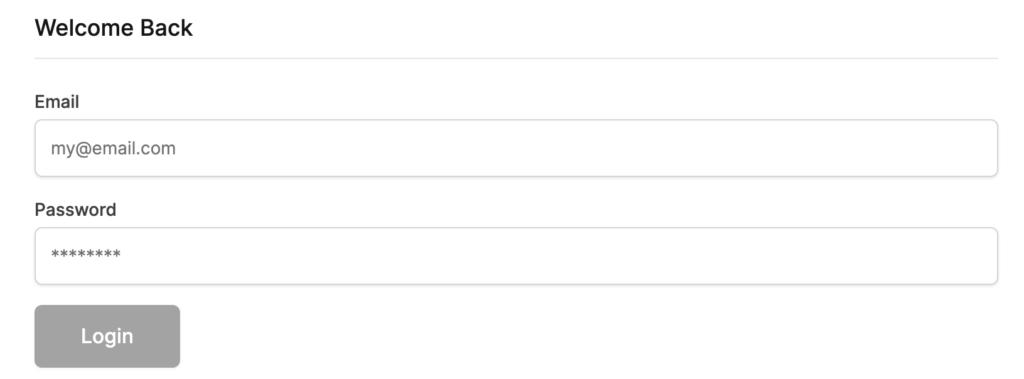
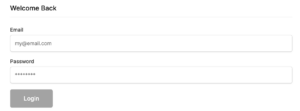
2. Enter your Privacy Hero account email and password. Click Login.

Privacy Hero Access Settings

If you have not created your Privacy Hero account yet please follow these instructions.

TROUBLESHOOTING

Still having issues? Visit the VPN Troubleshooting section.

Troubleshoot Here

Privacy Hero Creating User Profiles and Adding Devices to Profiles

TeamFlashRouters · Apr 3, 2023 ·

Your Privacy Hero router uses Cloud Based router management which means you can access the router settings from anywhere on any device that has an internet connection. You can follow these steps while connected to your phone, other Wi-Fi network, or the Privacy Hero network.

The Privacy Hero router allows for User Profile creation. Doing so allows you to group different user’s devices together to customize the following rules:

  • Internet access scheduler (Bedtime settings)
  • Internet Safe Search
  • Youtube Safe Search
  • Block Adult Content

This makes the Privacy Hero a great router option for families and internet addicts.

1. From any device that has a browser such as a computer, smartphone, or tablet visit app.privacyhero.com

App.PrivacyHero.com

2. Enter your Privacy Hero account email and password. Click Login.

Privacy Hero Access Settings

If you have not created your Privacy Hero account yet please follow these instructions.

3. Click the Profiles symbol.

Privacy Hero Profiles

4. Click Create New Profile.

Privacy Hero Create New Profile

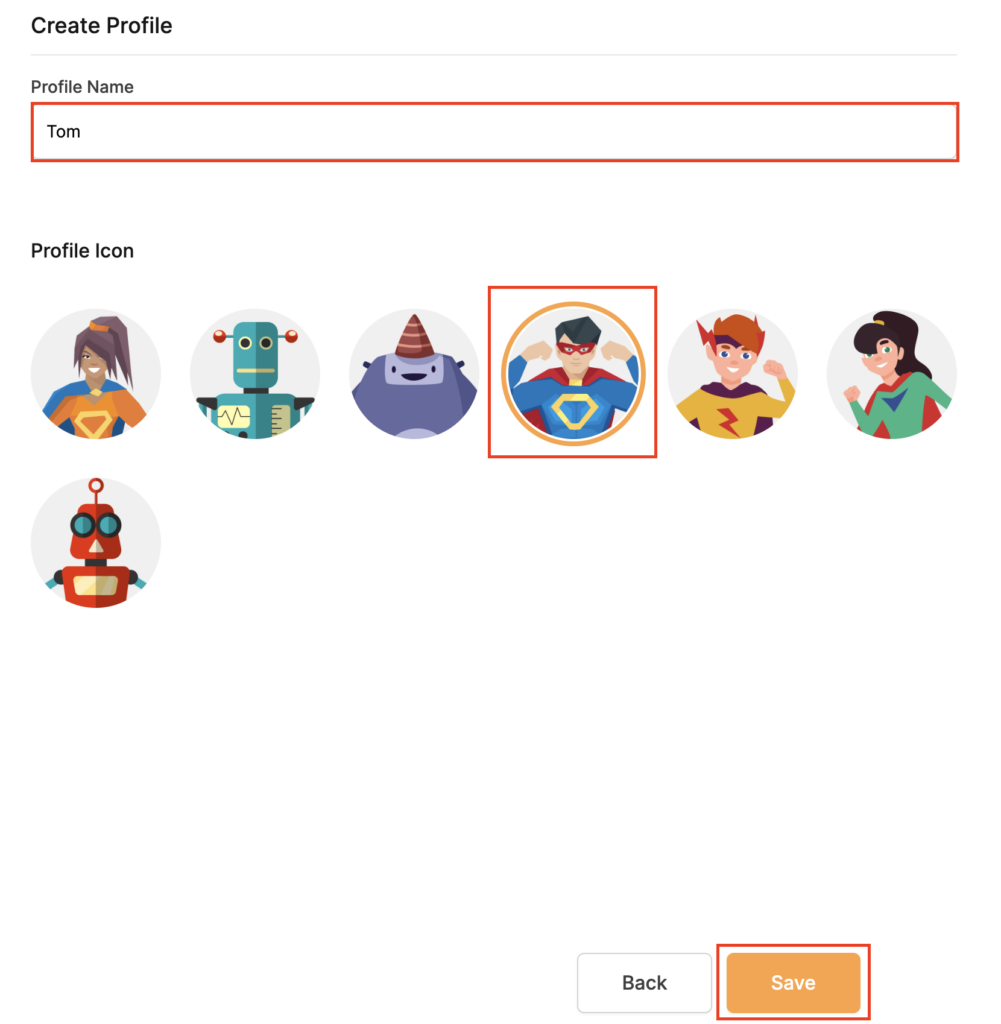
5. Set the Profile Name, select the Profile Icon, and click Save.

Privacy Hero Set Profile Name

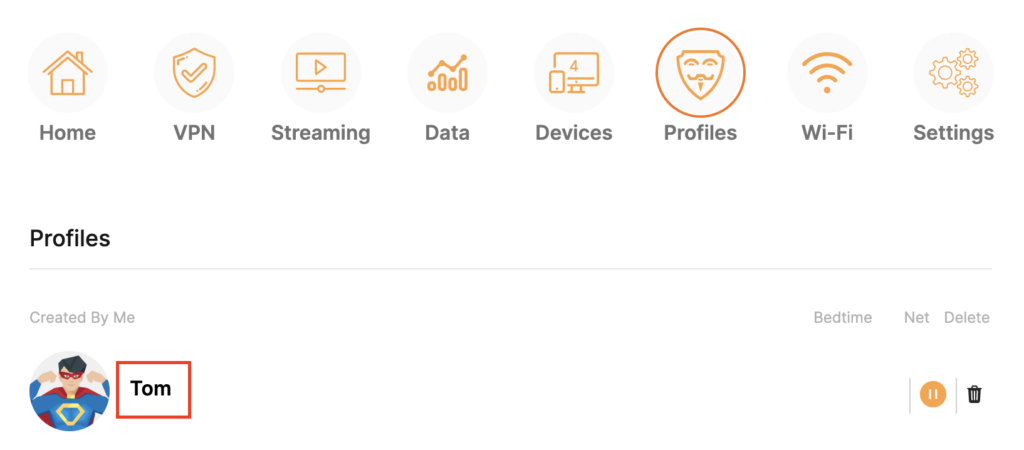
6. Click the name of the User Profile.

Privacy Hero Select Profile

7. Select Devices.

Privacy Hero Select Devices

8. Select Manage Devices.

Privacy Hero Select Manage Devices

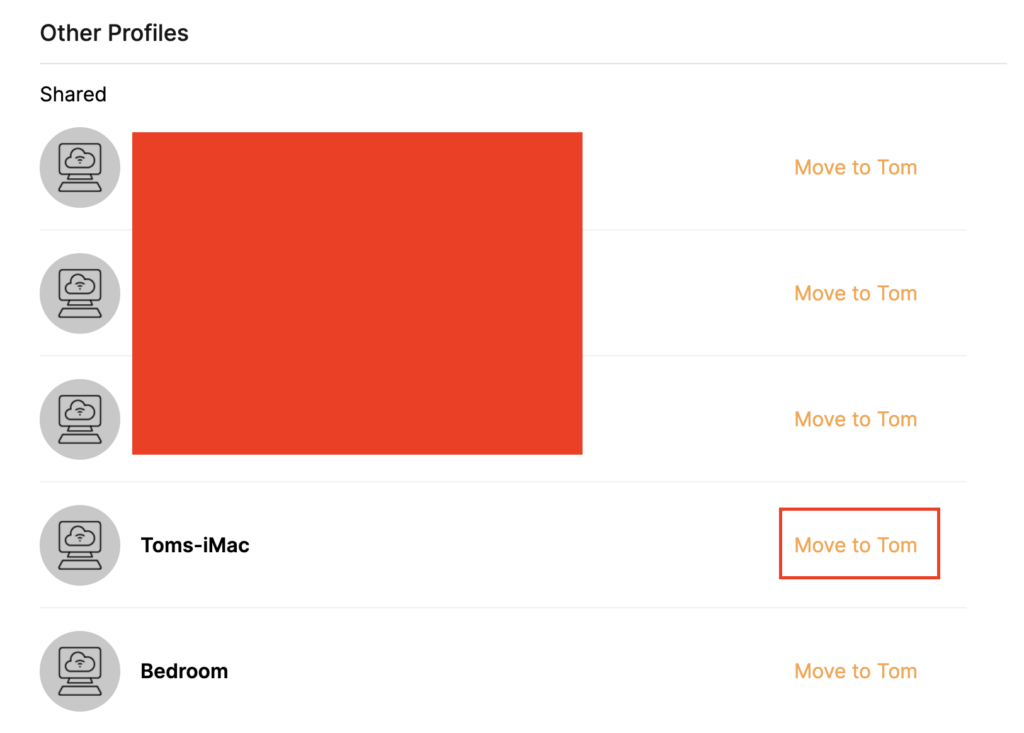
9. If you have not already connected your devices to the Privacy Hero network via wireless or ethernet you can do so now. Refresh the page after connecting a new device and it will appear in the list where you can select Move to “Profile Name” to move the device to the appropriate profile. By default new devices are in the Shared profile.

Privacy Hero Move to User Profile

If your devices were already connected to the Privacy Hero network and you are having issues identifying them I would recommend the following steps:

  1. Click the Devices icon.
  2. Select the device in question.
  3. Click Nerd and note down the IP Address of the device.
  4. Go to the network settings of your device where it will display the local IP Address and match that to the IP Address noted in Privacy Hero.

This is how you can identify a device that is not properly named.

10. Now that your devices are assigned you can set the Bedtime Settings (Internet Scheduler) and Safe Surf settings for your new Profile.

TROUBLESHOOTING

Still having issues? Visit the VPN Troubleshooting section.

Troubleshoot Here

Primary Sidebar

Privacy Hero Routers
  • Internet Setup
  • WiFi Setup
  • VPN Setup
  • Features
  • Facebook
  • Twitter
  • Instagram
  • Pinterest
  • YouTube

Footer