If you would like to prevent visitors from connecting to your main WiFi network then you can create a separate Guest Network that will prevent access to the main router. This setup also allows you to create different rules for different WiFi SSID’s in your home ranging from QoS controls, access restrictions, VPN network segmentation, and more.
Preparing for Wireless Guest Network Setup
If you have a Dual-band or Tri-Band router you can setup a WiFi Guest Network, creating a separate VLAN (virtual local area network) for your visitors, or in order to segment your VPN networks on any band you like. We recommend using the 2.4GHz network for your DD-WRT Guest Wireless Network so it is compatible with the most possible WiFi devices. Setting up a guest network for visitors in your home allows you to keep them off of your main WiFi network.
We recommend performing this setup while connected to the FlashRouter via ethernet cable. If your computer does not have an ethernet port and you must proceed via wireless connection to the FlashRouter. Be sure to pay attention to the wireless connection as you may need to rejoin the FlashRouter’s network after making changes.
DD-WRT Router Setup for Wireless Guest Network
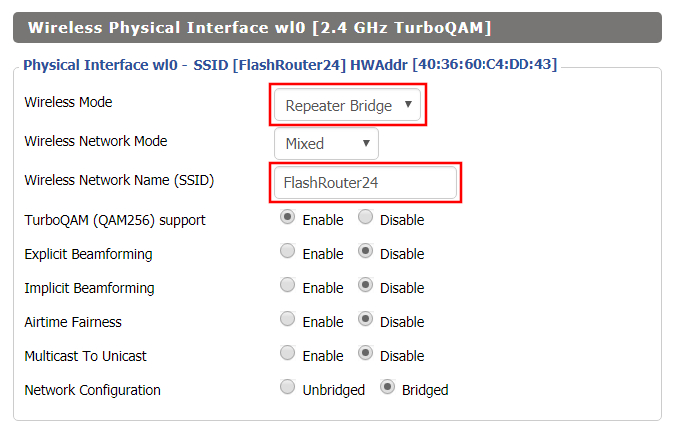
Enter Wireless settings
Navigate to Wireless > Basic Settings
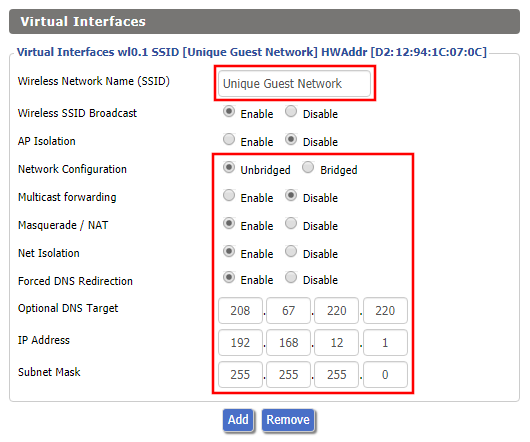
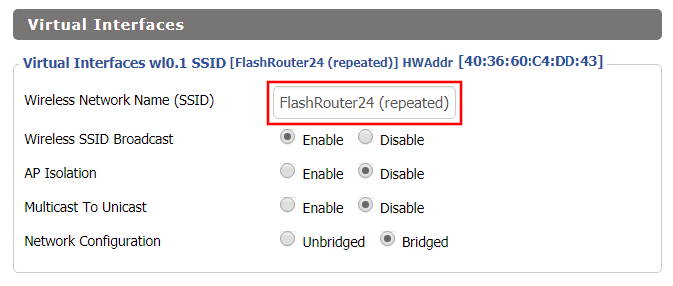
Under the 2.4GHz or 5GHz Interface click the Add button.
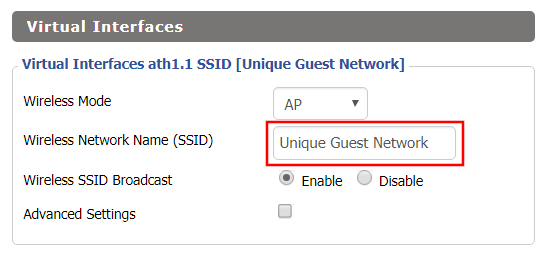
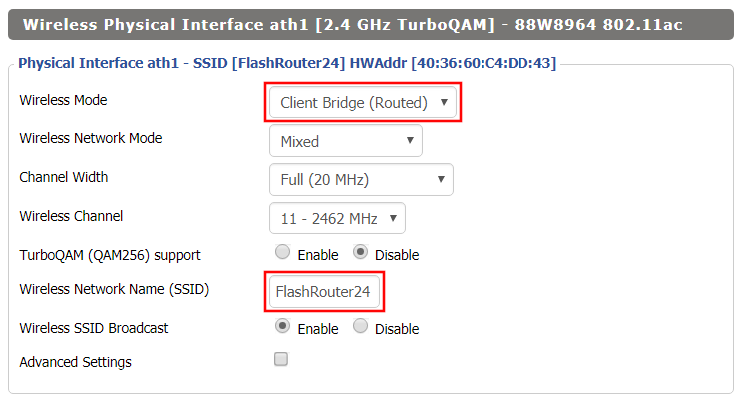
Wireless Network Name (SSID)
Enter the a unique network name for the guest network.
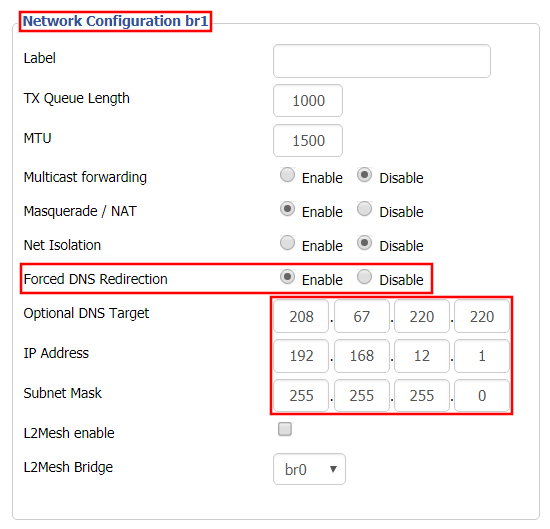
Network Configuration
Unbridged
Force DNS Redirection
Enable
Optional DNS Target
208.67.220.220
IP Address
192.168.12.1
Subnet Mask
255.255.255.0
CLICK SAVE
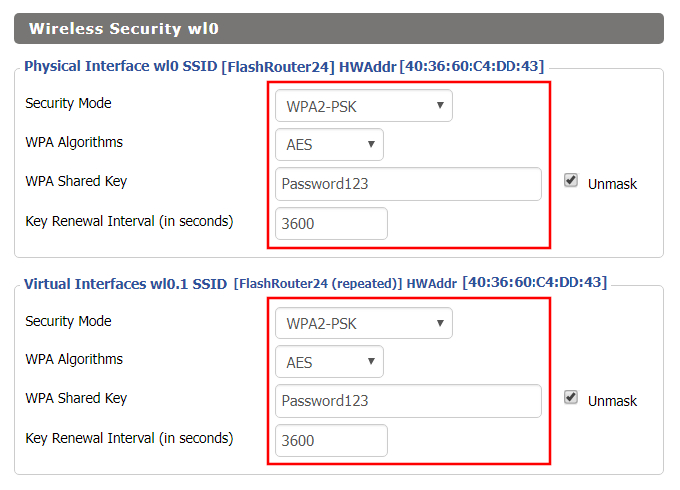
Enter Wireless Security settings
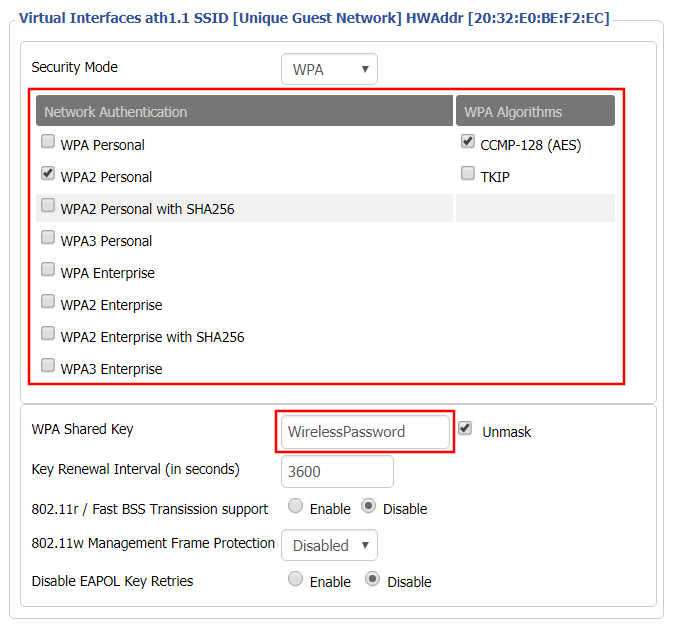
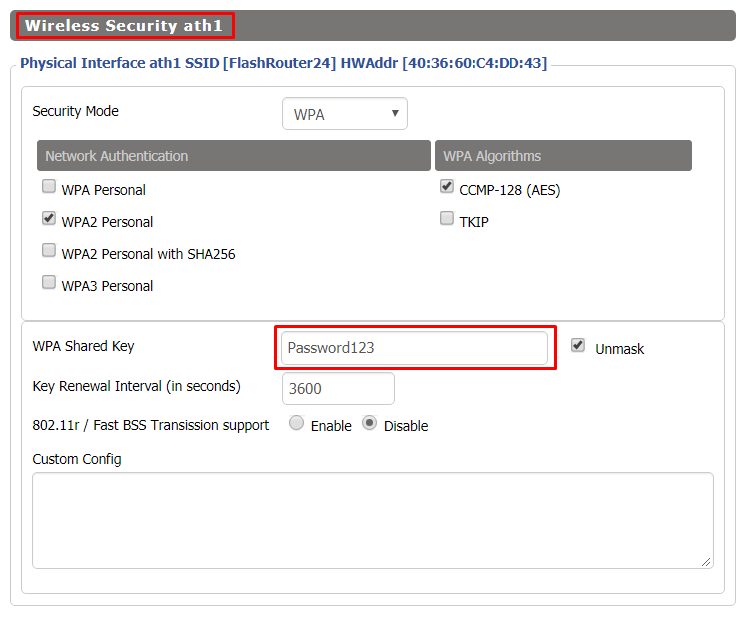
Navigate to Wireless > Wireless Security
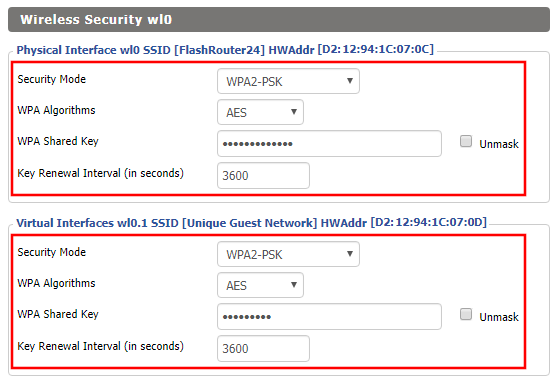
- Duplicate the wireless security settings that are set for the other bands for the newly created virtual interface.
- Click Apply Settings.
- Reboot your router.
Enable DHCP for Guest Network
Navigate to Setup > Networking

- Scroll to the very bottom of the page and under DHCPD click Add.
- Select wl0.1 or ath1.1 depending on your router model.
- Click Apply Settings.
- Reboot your router.
Depending on the router model and WiFi band you are using, the wireless interfaces will be labelled differently.
This setting can be labelled wl1.1, ath0.1, wl2.1, and so on. Make sure when you get up to the bridge assignment section that you are using the correct guest network Virtual Interface.
Back up your settings
Navigate to Administration > Backup
- Click the Backup button.
- A file named nvrambak.bin will be saved to your computer.
- You can load nvrambak.bin to restore your settings in the event of a reset.
