Preparing for ProtonVPN TP-Link Setup
Download your ProtonVPN .conf file
If you are not already an ProtonVPN user Sign Up Now.
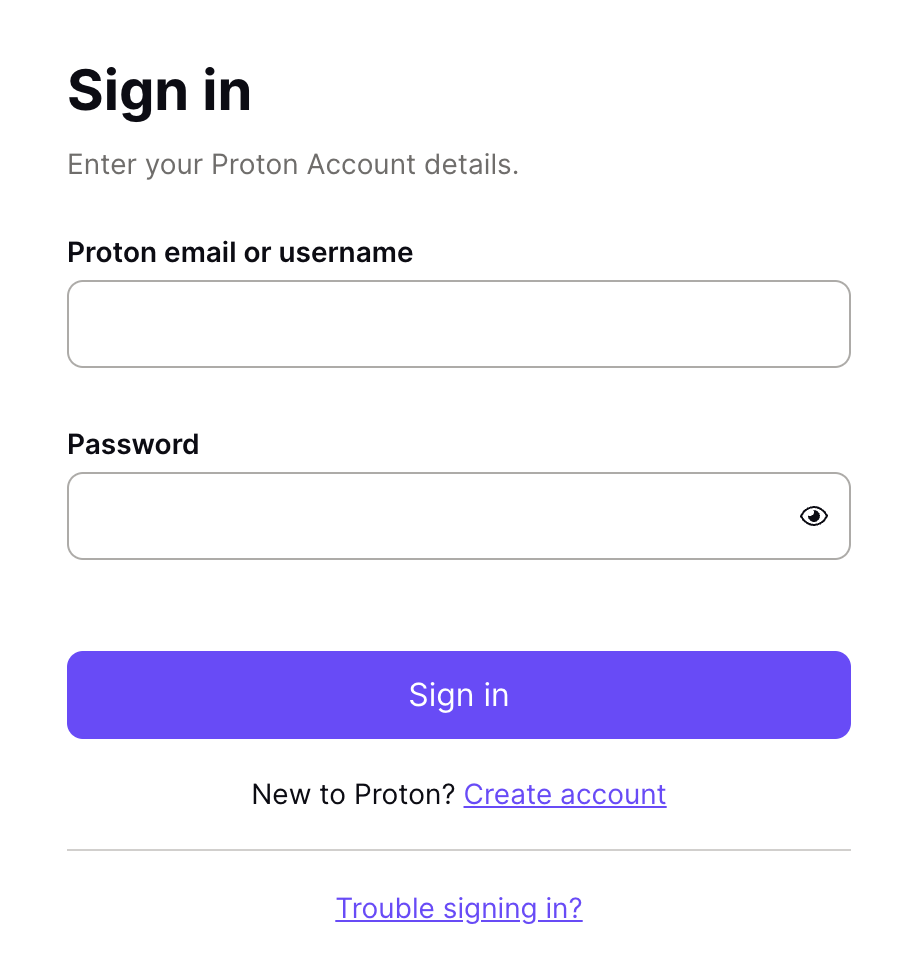
1. Log in to your account on the ProtonVPN website.
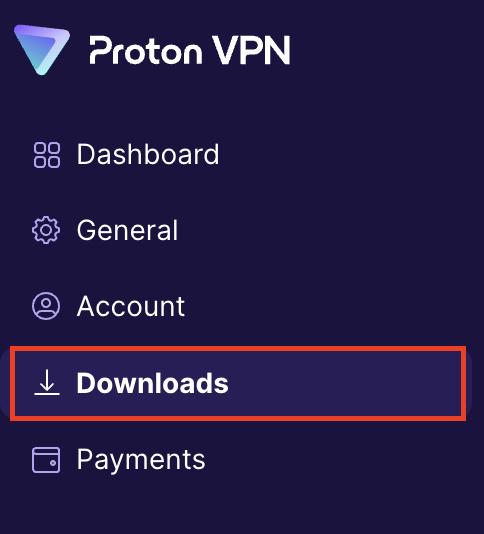
2. Click Downloads.
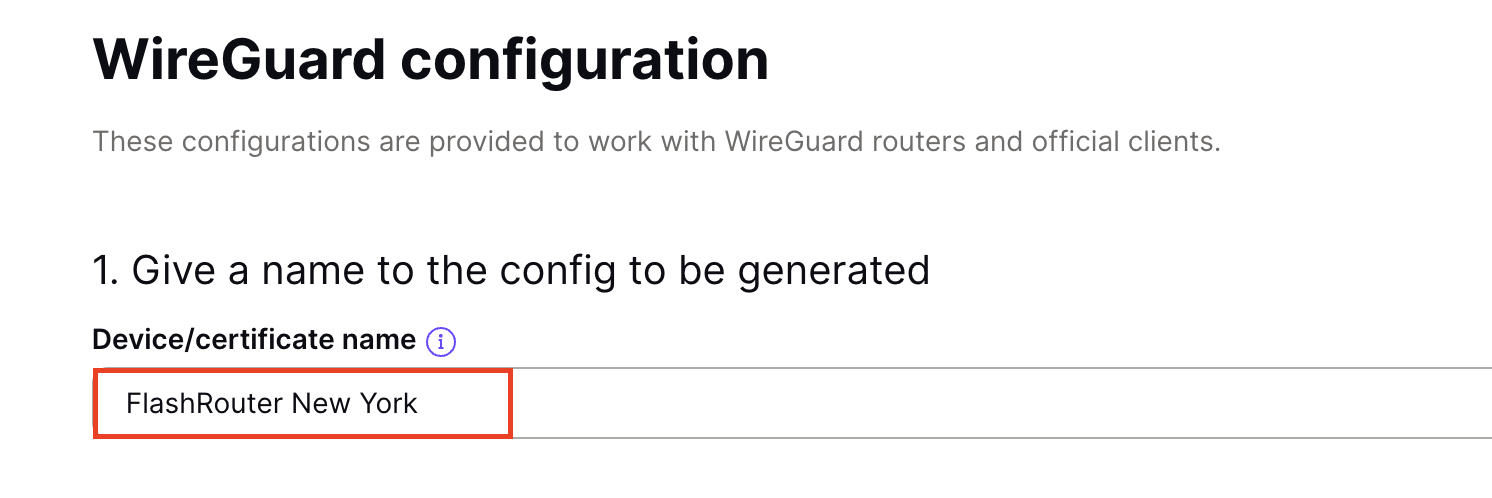
3. Scroll down to WireGuard configuration and name the device FlashRouter.
4. Select Router as the platform.

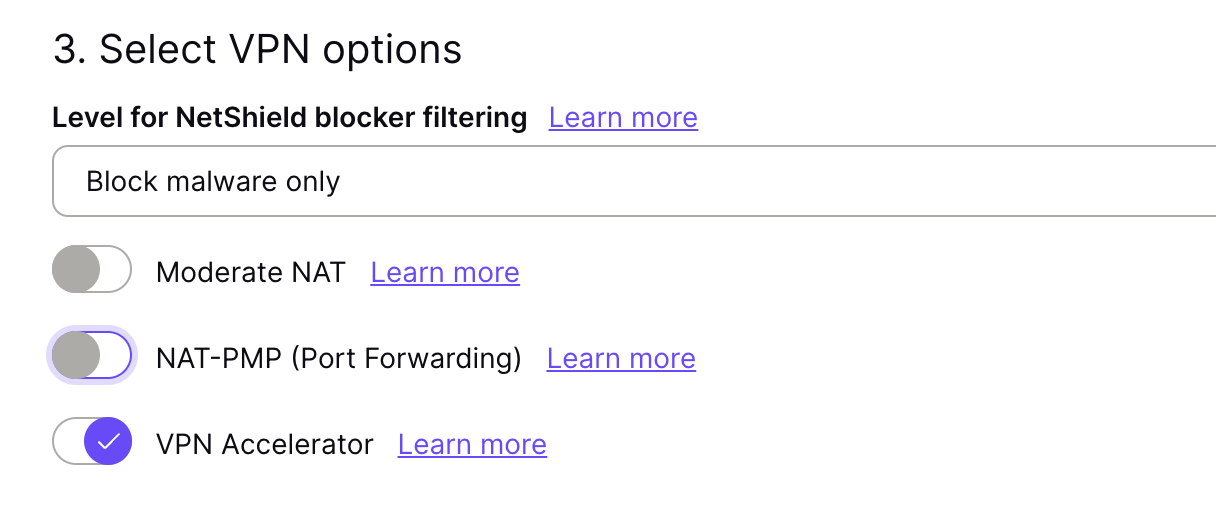
5. Select the VPN options that best fit your needs. We typically use the settings as seen in the screenshot here if you are unsure.
6. Next select the server that you would like to connect to and click Create. At the top of the page you’ll see ProtonVPN’s recommended server which we recommend using unless you need to connect to a specific location.
If you need a specific server location find it in the list and click Create.


7. After clicking Create a new window will appear. Click Download to download the .conf file to your computer.
TP-Link Router Setup for ProtonVPN
Login to TP-Link firmware settings in a browser on any computer or smart device connected to the FlashRouter’s network.
1. Navigate to the Advanced tab.

2. Navigate to the VPN Client tab.

3. Check the Enable box next to VPN Client. Then click Save at the bottom of the page.

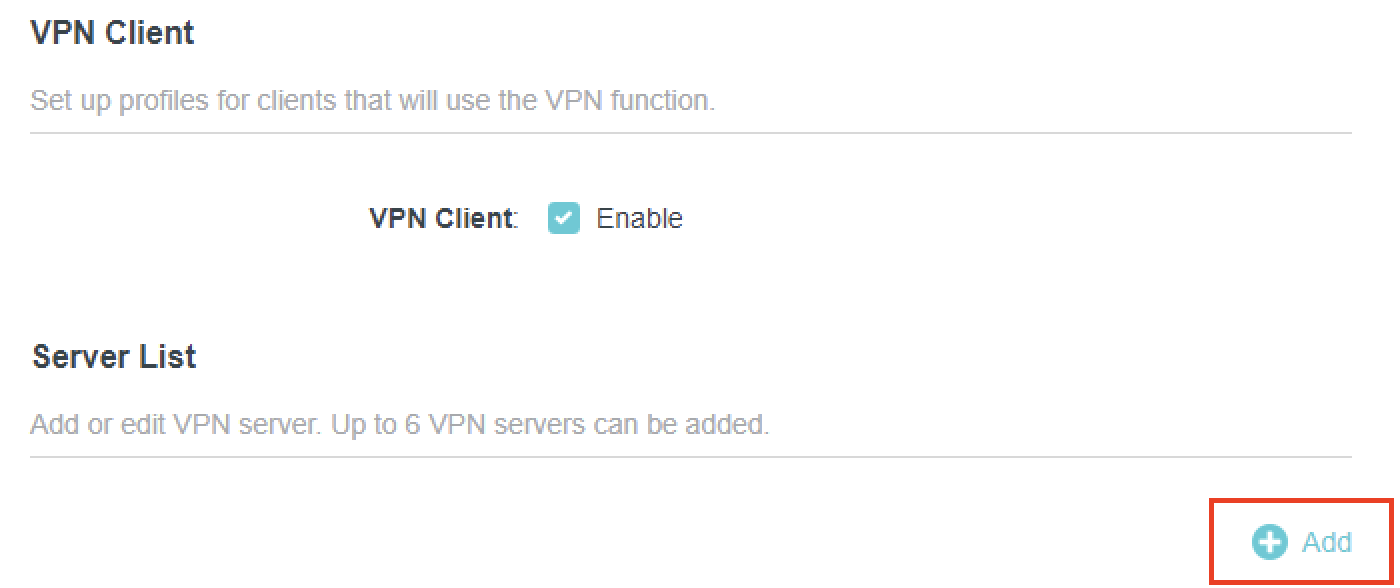
4. Click the Add button in the Server List area.
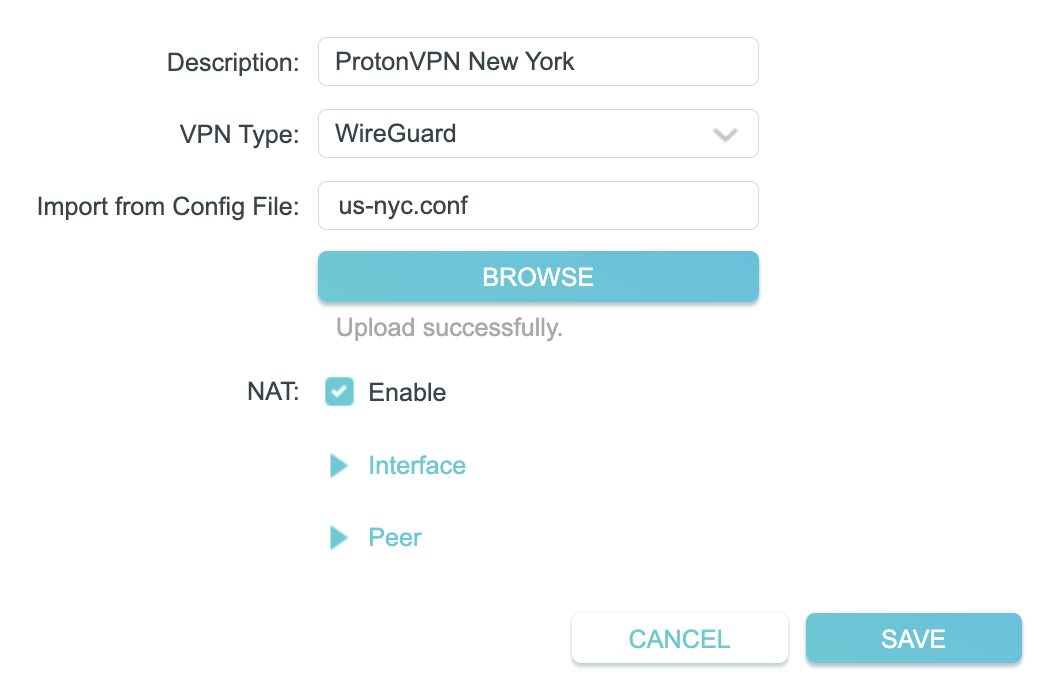
5. In the Description field enter in the name you’d like to use for this WireGuard Client profile. We typically advise entering in the location. Our example server was New York so I have entered in ProtonVPN New York.
Set the VPN Type to WireGuard.
Click Browse and select the .conf file you downloaded earlier. Then click Save.
By default no devices will be assigned to the VPN Tunnel. With TP-Link firmware you must manually assign the devices that you want connected to the VPN tunnel. Proceed with the next steps to do so for all devices you want connected to VPN.
6. Click the Add button in the Device List area.

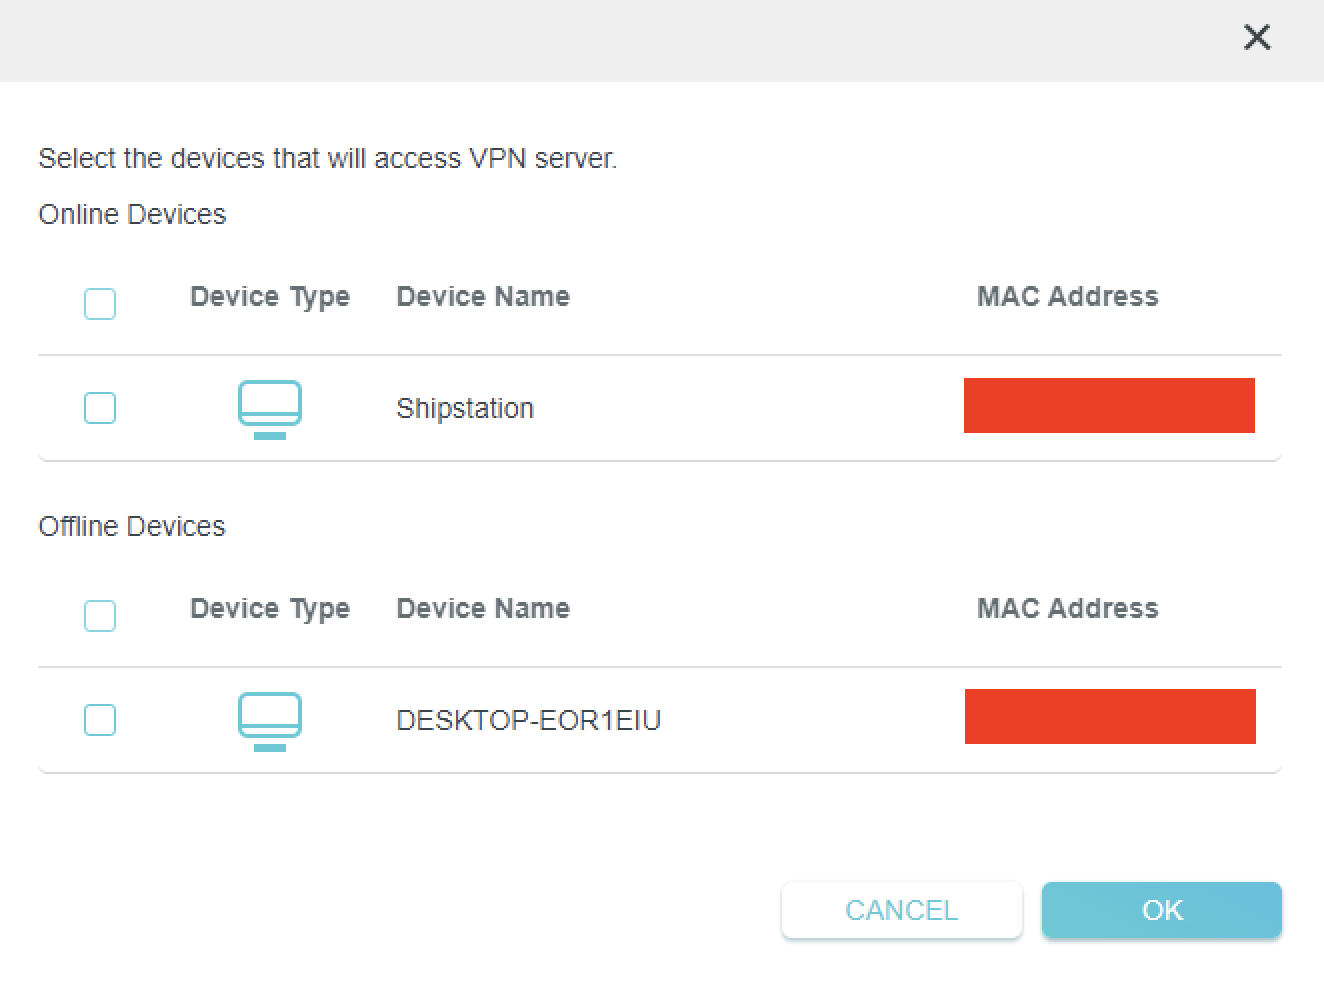
7. A list of devices connected to the FlashRouter’s network will appear. Check the devices that you want to connect to VPN. Then click OK.
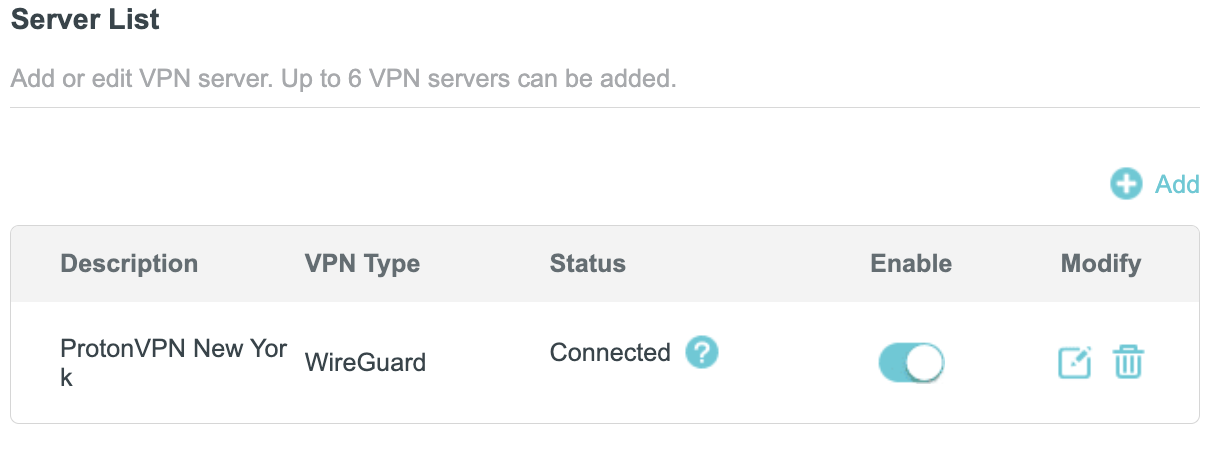
8. Now that the devices have been assigned to the VPN connection click the Enable toggle in the Server List area.
Verify a successful ProtonVPN connection
- You should now see a CONNECTED message.
- Visit ProtonVPN’s IP Check to verify your new IP address and virtual location.
In some cases you may notice that the location is not showing the same location as the server you have input in your router settings; this is because geo tracking tools are often tricked by VPN connections. As long as you see an IP address that is not the same as your normal Internet IP address then you are indeed connected to ProtonVPN.
How to change the ProtonVPN server
- Follow the steps at the top of the page to obtain a new .conf file.
- Then proceed with the settings same as initial setup.