Preparing for NordVPN Setup
Obtain your NordVPN manual Username and Password
If you are not already a NordVPN user Sign Up Now.
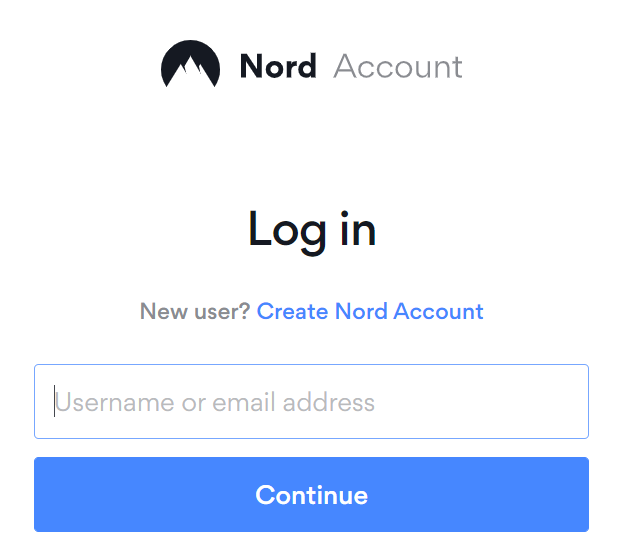
1. Log in to your account on the NordVPN website.
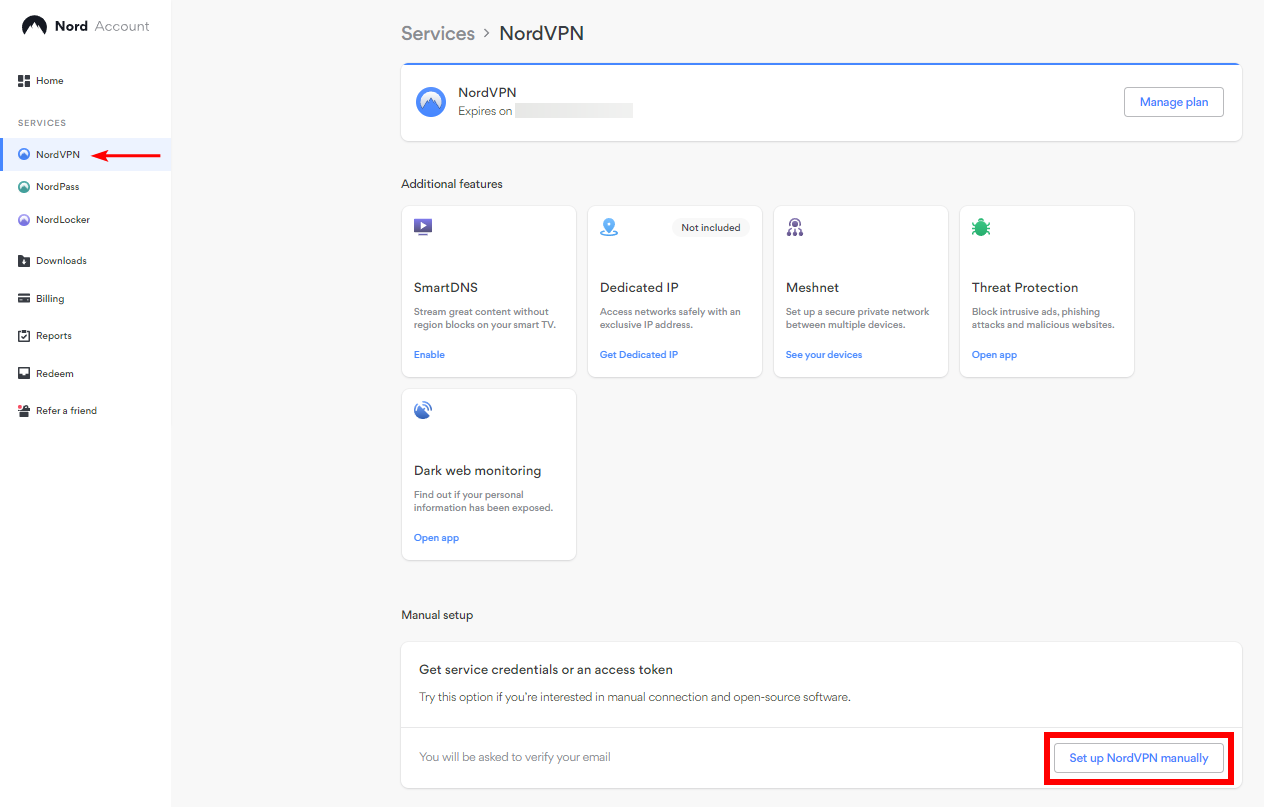
2. Click NordVPN on the left hand side and then click Setup NordVPN manually.
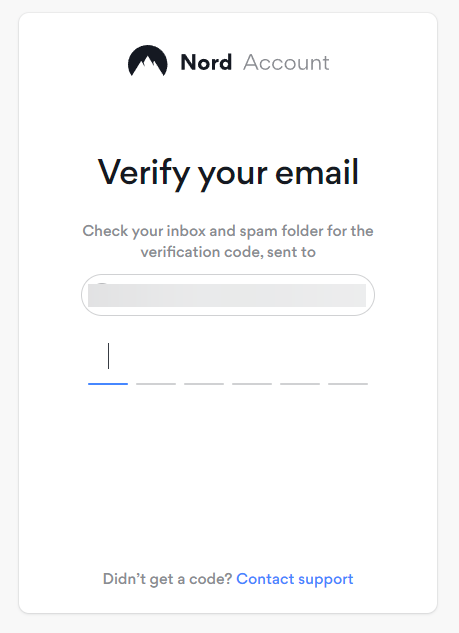
3. Enter in the verification code that was sent to your email.
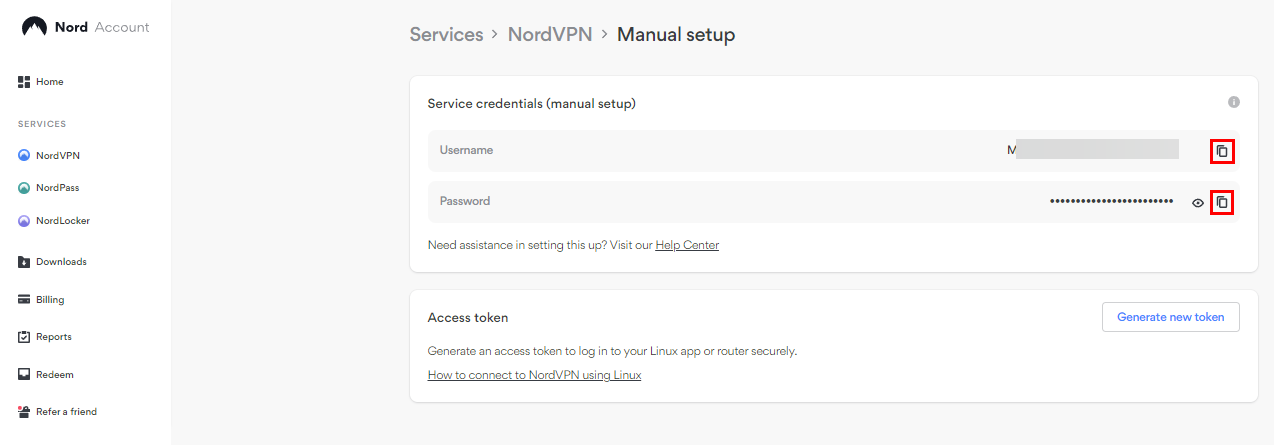
4. Copy and paste your NordVPN manual username and password to a secure location. This is the username and password you will enter into the router settings to connect to NordVPN.
Connecting to NordVPN in the Roqos Core
Access the Roqos Core UI
1. Login to the Roqos Core web app in a browser on any computer or smart device.
2. Click VPN from the navigation menu and then click VPN OUT.
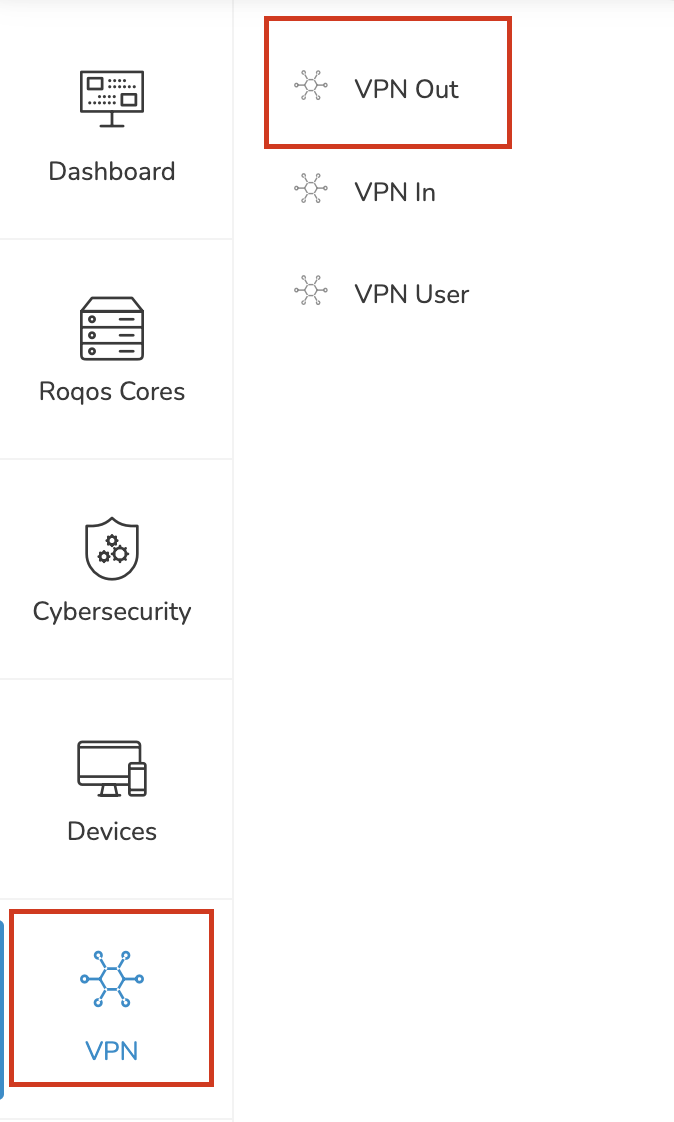
3. Click the Connect to box.

4. In the Connect dropdown choose 3rd Party VPN Providers and for the VPN Provider dropdown choose NordVPN.
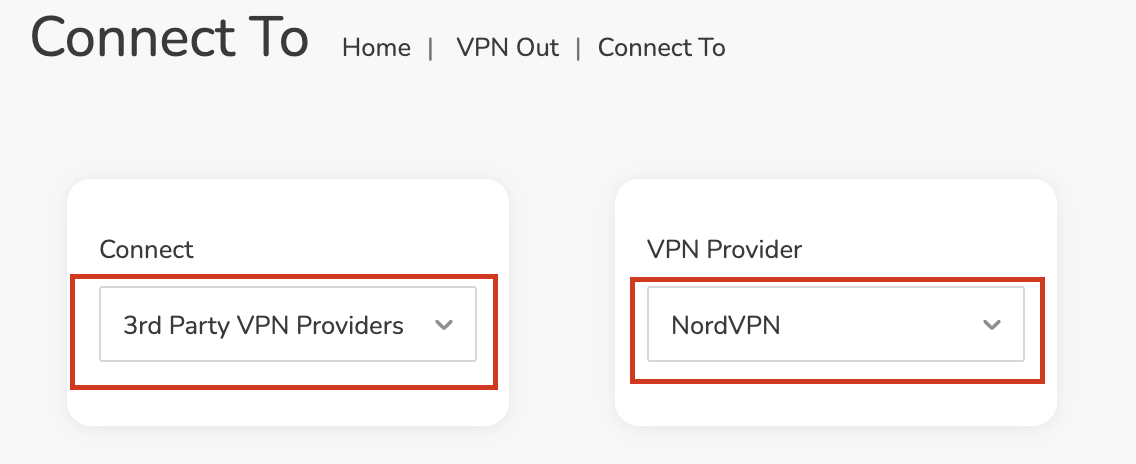
Enter your NordVPN information
In the Username and Password field enter the NordVPN OpenVPN Username and Password that you obtained.


Select a NordVPN server
Navigate to NordVPN server recommendation page. Click Recommended server and select the country you want to connect to and note the server number that appears.
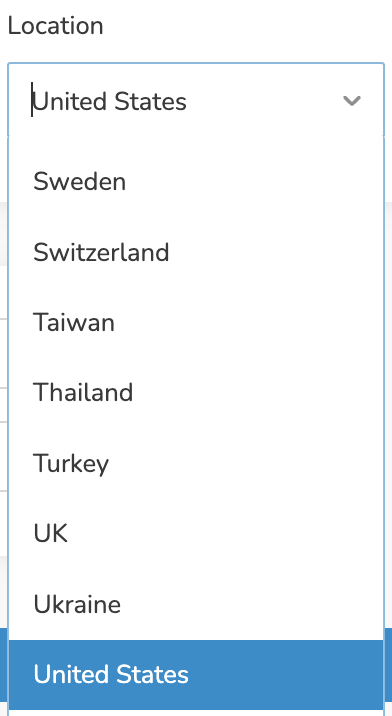
Click the Location dropdown and type in or scroll to the preferred server country.
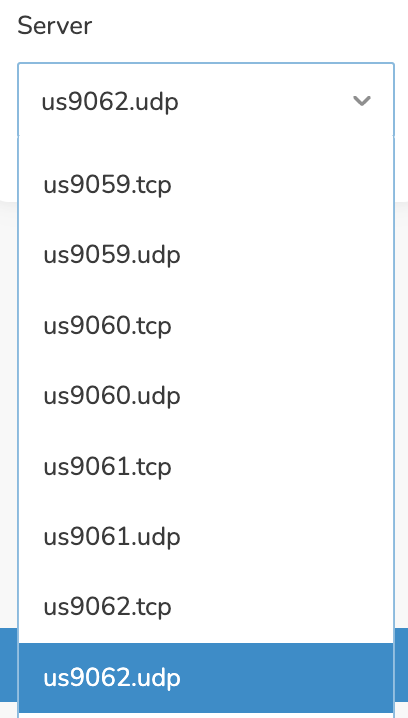
Click the Server dropdown and type in or scroll to the server number that was recommended. Select the UDP version of the server.
Click the Save button.
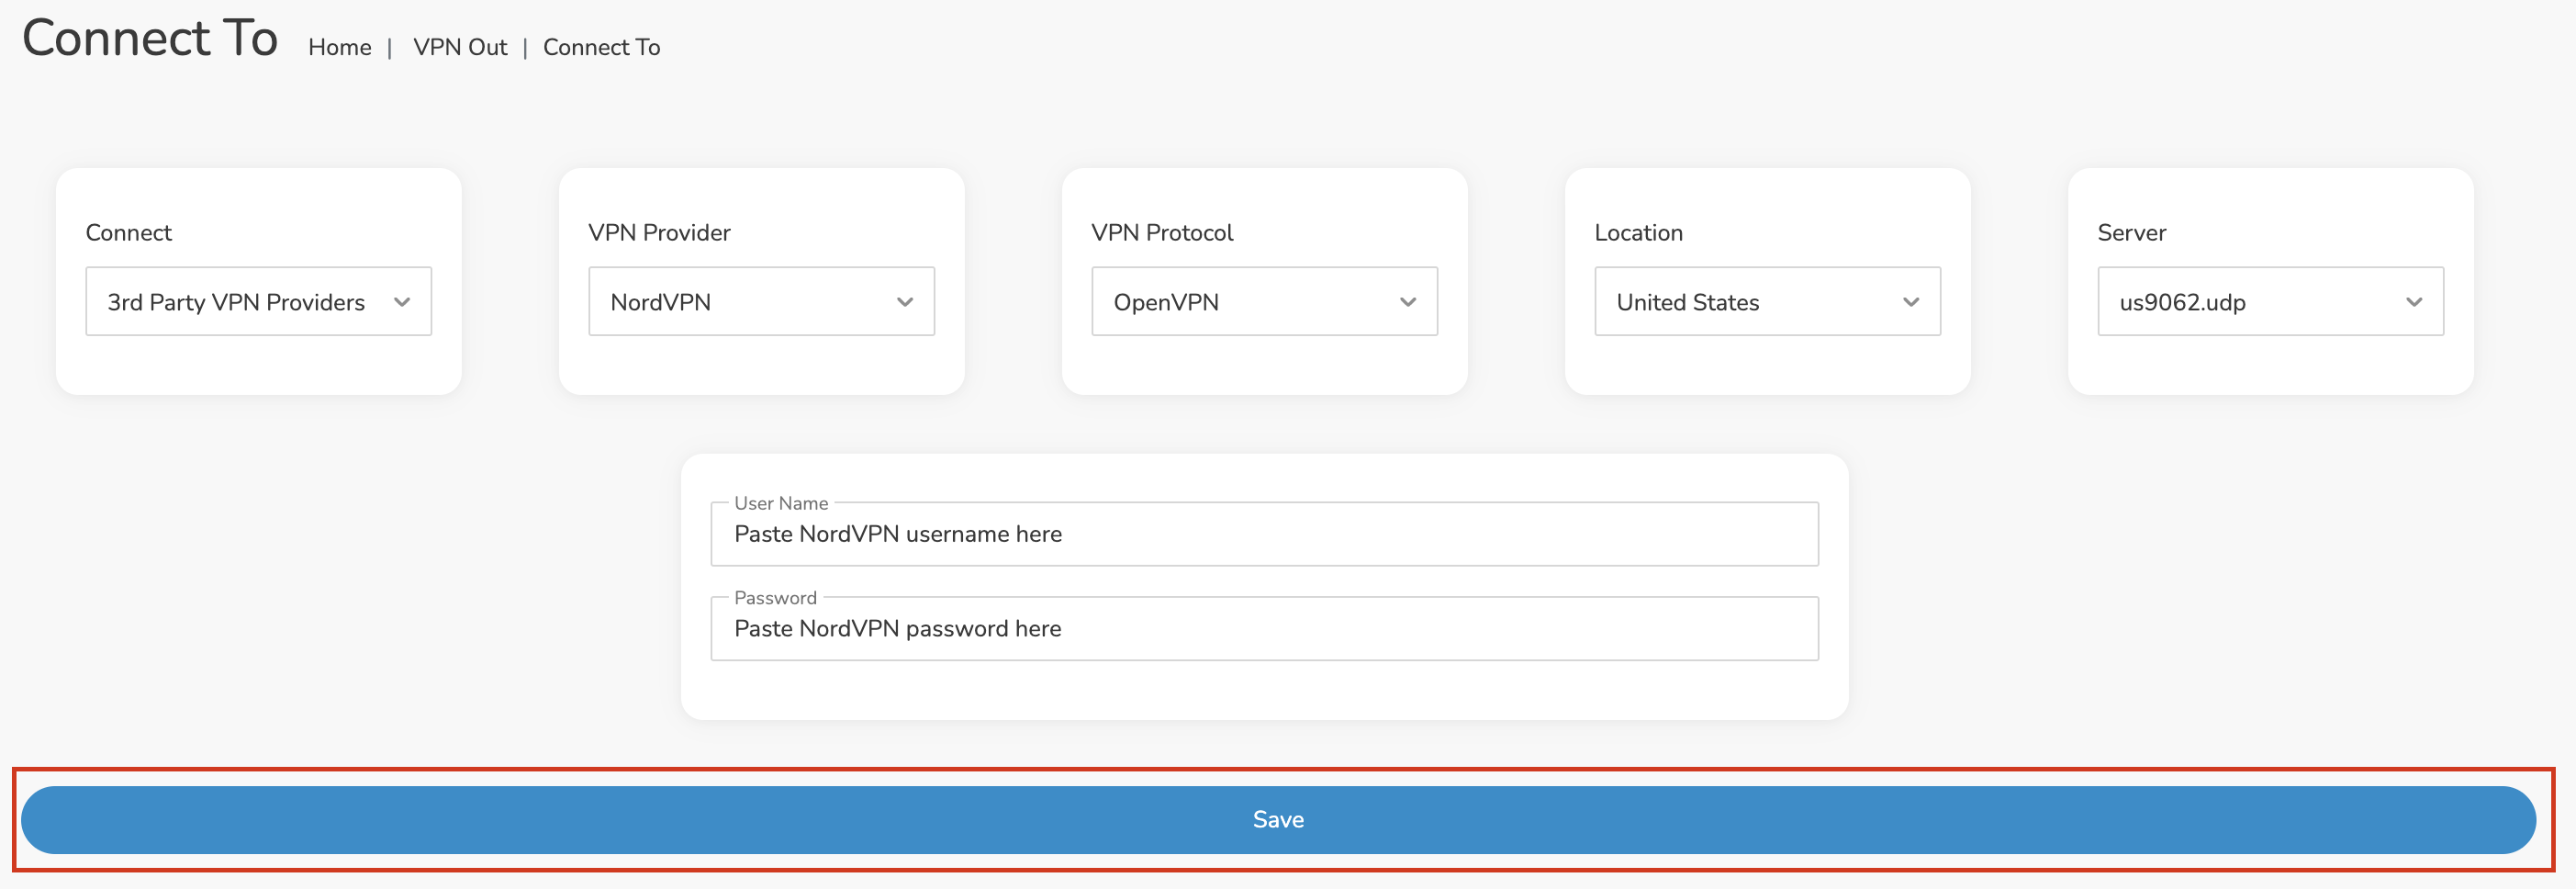
Connect to NordVPN
Once you click Save you will be returned to the VPN OUT menu.
Click the Connect button to start your NordVPN connection. Please be patient as the router connects your entire network through VPN.

Assign devices to connect to VPN
By default there are no devices assigned to the VPN tunnel. Click Included Devices. From this page you can choose if all devices should connect to NordVPN or only certain devices.

From the dropdown select Include all devices if you want every device that connects to the Roqos to connect to NordVPN. Then click Save.

If you only want specific devices to connect to NordVPN while others bypass the VPN connection select Include selected devices from the dropdown and then toggle the sliders for the devices you want connected to VPN. Click Save.

Verify a successful NordVPN connection
Make sure you are connected to the Roqos network via WiFi or ethernet connection on your device.
Visit NordVPN’s website to verify your new IP Address and Protected Status at the top of the page.
You should see Connected at the top of the page underneath NordVPN.
Connect to a different NordVPN server
To change your server click Disconnect on the VPN OUT page then return to the Connect To section to select a new server from the Server dropdown and click Save. Now click Connect once again on the VPN Out page.
Disconnect from NordVPN
To disconnect from NordVPN click the Disconnect button.